
You are viewing Skygear v1 Documentation.Switch to Skygear v0 Documentation
Skygear Chat Quick Start
Follow the steps below to add Skygear Chat to your app.
Step 1: Add Skygear Core to your app
Skygear Core provides you the cloud database and the user authentication modules. They are required modules for Skygear Chat.
Step 2: Add Skygear Chat to your app
You also need to install the Chat plugin SDK into your project via Gradle.
- In
build.gradleof the project, include the JCenter Maven repository and JitPack.
allprojects {
    repositories {
        jcenter()
        maven {
            url 'https://maven.google.com/'
            name 'Google'
        }
        maven { url 'https://jitpack.io' }
    }
}
- Then, in
build.gradleof the module, addio.skygear.plugins:chat:+dependency.
dependencies {
    // other dependencies
    compile 'io.skygear:skygear:+' // from Android Quickstart
    compile 'io.skygear.plugins:chat:+'
    compile 'io.skygear.plugins:chat_ui:+' // If you want to use UIKit too, include this line
}
-
You will be hinted for a project sync as you have updated the
gradlefiles. The Skygear Android SDK will have been installed when the sync is completed. -
In each of your file to use Skygear Chat, make sure you have import the Skygear Chat SDK besides the core SDK.
import io.skygear.plugins.chat.*;
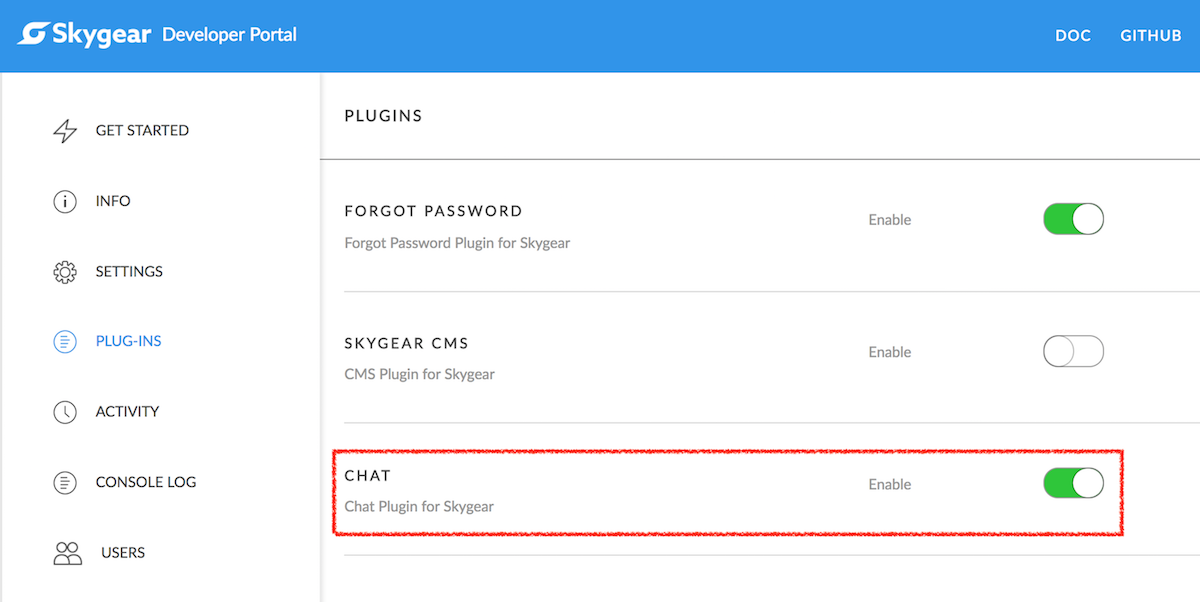
Step 3: Enable the chat in your developer portal
Lastly, enable the chat module in your developer portal. It is in the plug-ins page.
Cool your are all set now.
What's next from here
You got the basic. Next, learn more about: