Authenticate With a Custom Authentication System
Introduction
Skygear allows you to authenticate users using JSON Web Tokens (JWTs). This is useful for integrating Skygear server to your existing server which is able to authenticate user. In this way, you generate custom tokens on your authentication server and use them to login Skygear.
Login with custom token
Skygear SDK provides API for user to login with custom token easily.
const customToken = 'token generated by your authentication server';
skygear.auth.loginWithCustomToken(customToken)
.then((user) => {
  console.log(user); // user record
}).catch((error) => {
  console.log(error);
});
Generate custom token
You are required to create a server endpoint on your authentication server that is able to return a custom JWT for an authenticated user.
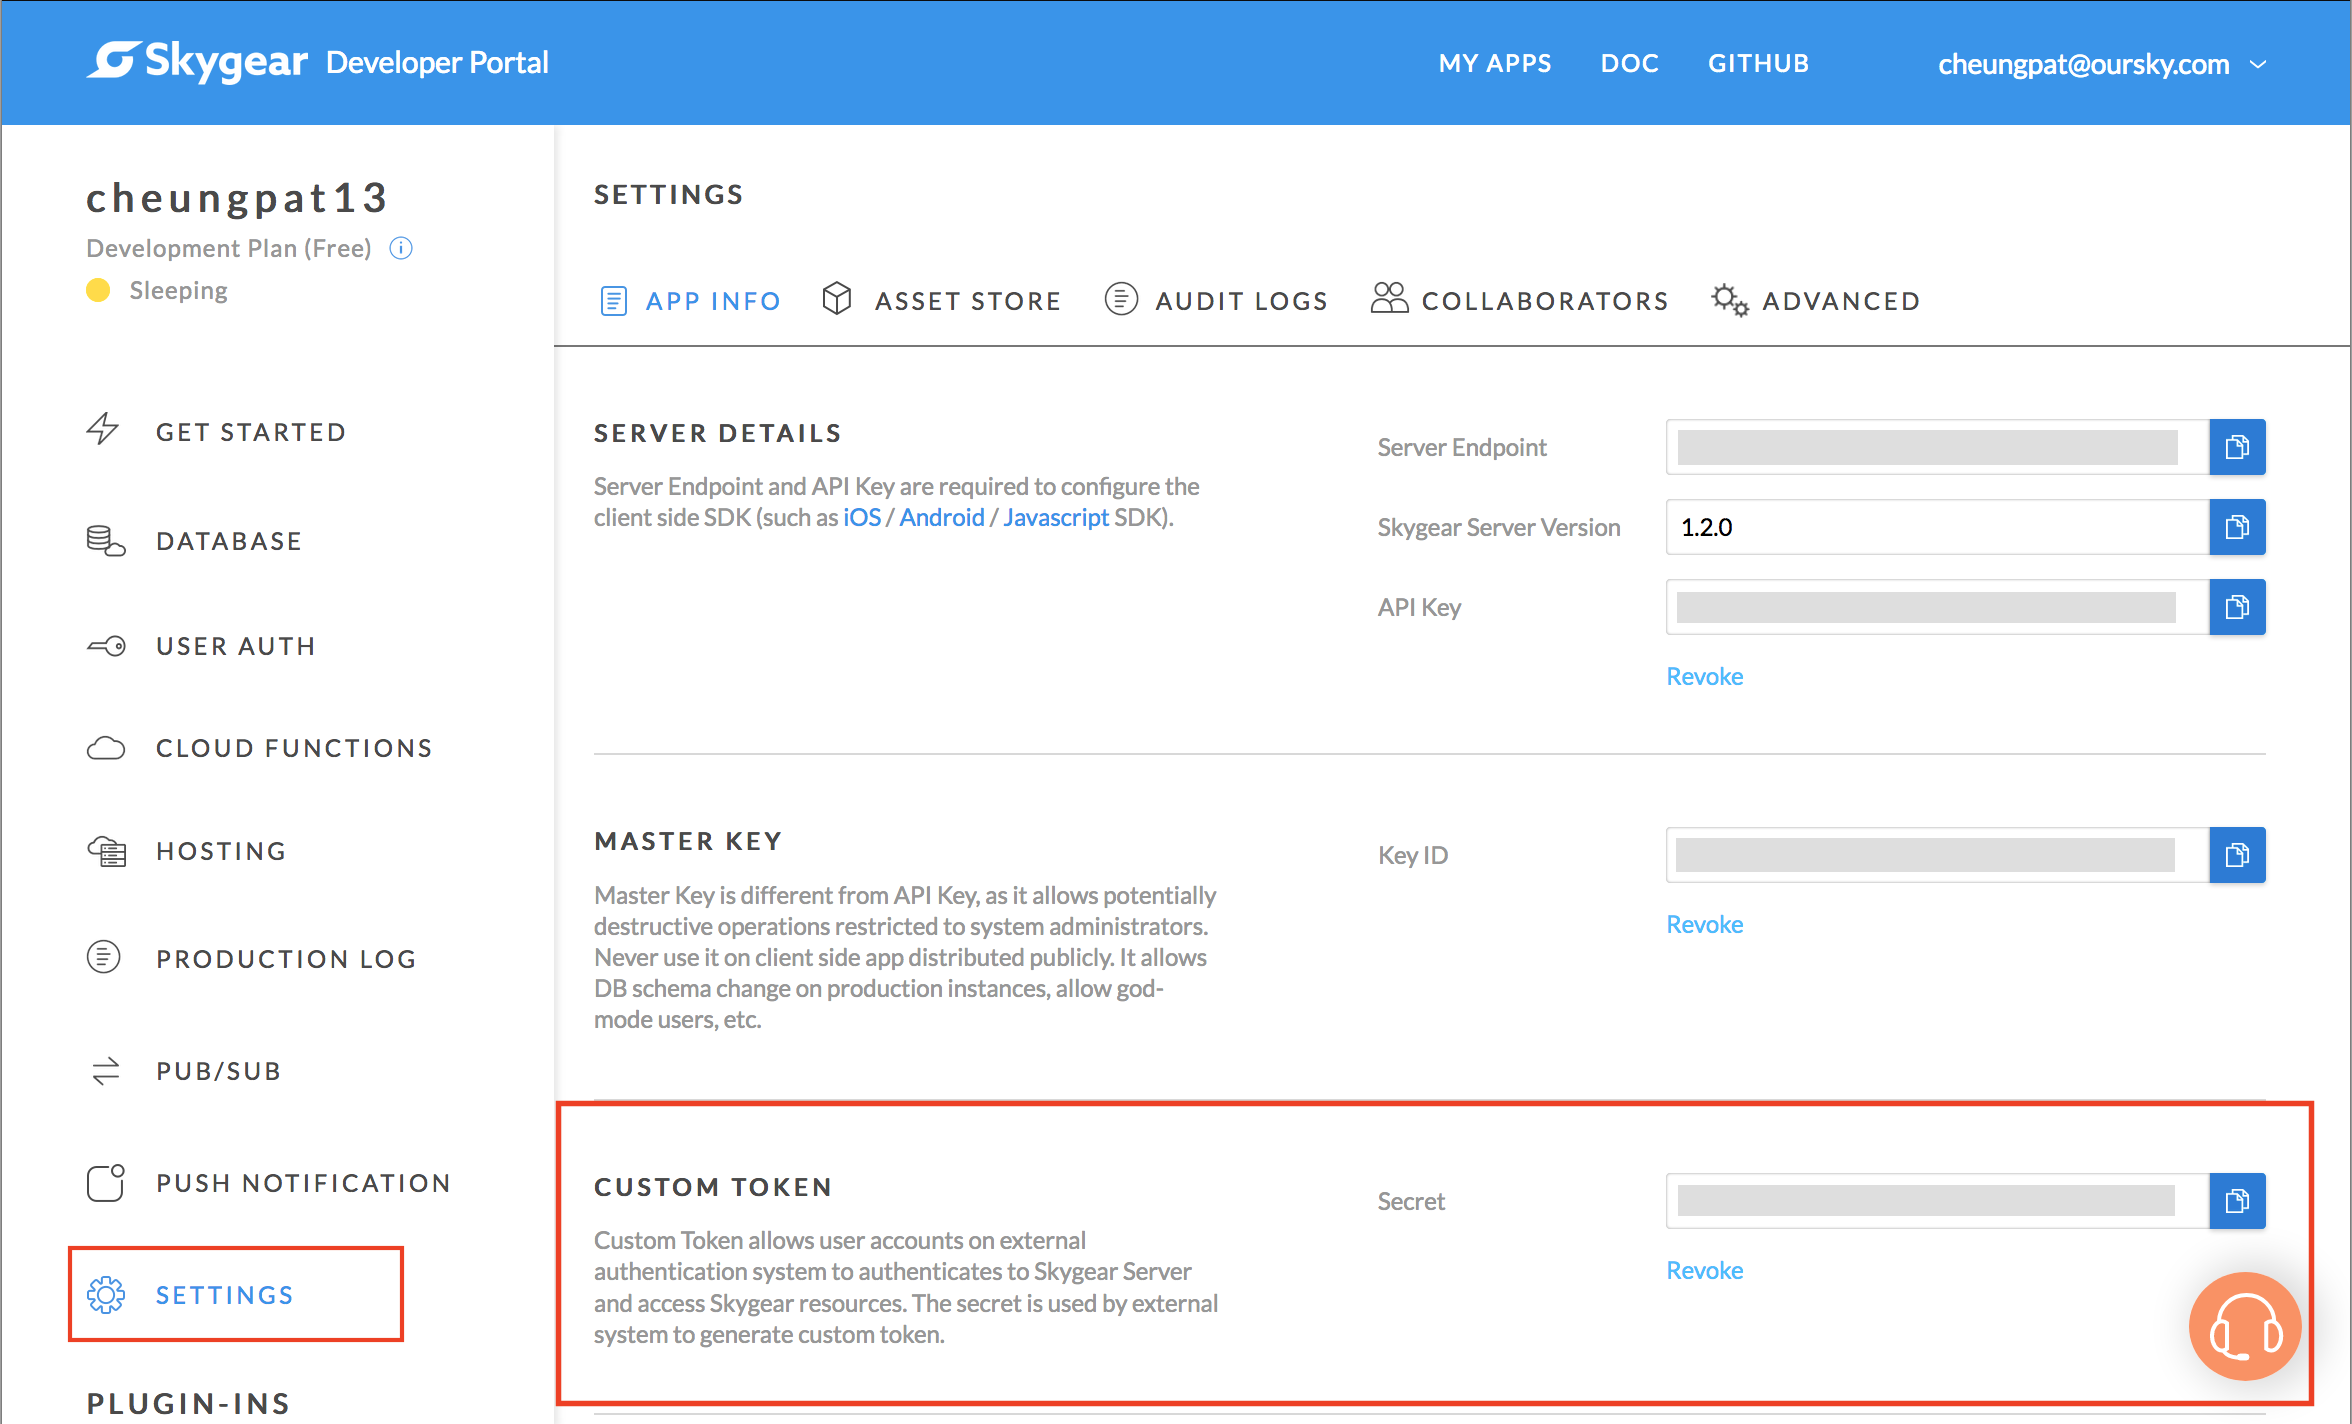
Retrieve custom token secret
Skygear Cloud
If you are using Skygear Cloud, the custom token secret is generated automatically. You can retrieve or revoke it on the Developer Portal.

Self hosting
If you host your Skygear server yourself, you need to generate the secret
yourself, and set it to can set to the environment variable
CUSTOM_TOKEN_SECRET.
Custom token claims
The JWT claims must follow this format, so that Skygear is able to create a user and identify the user with the one in your authentication server.
| Claims | Description |
|---|---|
| sub (Subject) | Authentication server user unique identifier, string between 1-36 characters long (Required) |
| iat (Issued At) | The time at which the JWT was issued (Required) |
| exp (Expiration Time) | The expiration time on or after which the JWT MUST NOT be accepted for processing (Required) |
| skyprofile (Skygear user profile) | The user profile for signup, will be updated in login |
Here are some example implementations of how to create custom tokens in a variety of languages.
JS
Install jsonwebtoken
var jwt = require('jsonwebtoken');

var userID = "User id of your server";
var customTokenSecret = "CUSTOM_TOKEN_SECRET from portal";
var nowSeconds = Math.floor(Date.now() / 1000);

var token = jwt.sign({
  sub: userID,
  iat: nowSeconds,
  exp: nowSeconds + ( 60 * 60 ), // expire within 1 hour
  skyprofile: {
    email: "user@skygear.io",
    username: "user"
  }
}, customTokenSecret, { algorithm: 'HS256'});
Python
Install PyJWT
import jwt
import time

now_seconds = int(time.time())
user_id = "User id of your server"
custom_token_secret = "CUSTOM_TOKEN_SECRET from portal"

token = jwt.encode({
    'sub': user_id,
    'iat': now_seconds,
    'exp': now_seconds + ( 60 * 60 ), # expire within 1 hour
    'skyprofile': {
        'email': "user@skygear.io",
        'username': "user"
    }
}, custom_token_secret, algorithm='HS256')
Rudy
Install ruby-jwt
custom_token_secret = "CUSTOM_TOKEN_SECRET from portal"
user_id = "User id of your server"
now_seconds = Time.now.to_i

payload = {
    :sub => user_id,
    :iat => now_seconds,
    :exp => now_seconds + ( 60 * 60 ), # expire within 1 hour
    :skyprofile => {
      email: => "user@skygear.io",
      username: => "user"
    }
}

JWT.encode payload, custom_token_secret, "HS256"
Java
Install jjwt
String customTokenSecret = "CUSTOM_TOKEN_SECRET from portal";
String encodedSecret = new String(Base64.encode(customTokenSecret.getBytes(), Base64.DEFAULT));
String userId = "User id of your server";
Date now = new Date();
Date expiration = new Date(now.getTime() + 60 * 60 * 1000);

Claims claims = Jwts.claims()
        .setSubject(userId)
        .setIssuedAt(now)
        .setExpiration(expiration);
Map<String, String> profile = new HashMap<>();
profile.put("email", "user@skygear.io");
profile.put("username", "user");
claims.put("skyprofile", profile);

String token = Jwts.builder()
        .setClaims(claims)
        .signWith(SignatureAlgorithm.HS256, encodedSecret)
        .compact();